What is a Loom Video?
Loom is a screen recording and video messaging tool that allows users to record their screen, webcam, or both simultaneously. With a Loom video, users can capture their actions and audio as they navigate through a software program, explain a concept, or provide feedback on a project. Loom videos can be shared with others via a link, and viewers can watch the video at their own pace.
According to Loom, approximately 14 million people in 200,000 businesses choose their software as an async video platform that works with any webcam with a microphone and speaker.
It's the go-to choice among YouTube creators, or WFH teachers prefer to choose recording instead of live streaming this time. Loom, which integrates the recording of the screen and the images from the webcam, can be a fantastic tool for implementing anyone's ideas.Here's a quick glimpse of Loom's LinkedIn page authority and Google Trends report.

Image: LinkedIn followers of Loom

Image: The Google Trends report of Loom
How to use loom?
Once you have the extension installed, you can start recording your screen or webcam by clicking on the Loom icon in your browser. From there, you can choose to record your entire screen, a specific application, or just your webcam. Once you have finished recording your Loom video, you can save it to your Loom library, and then share it with others via a link. You can also choose to download the video or share it directly to platforms like YouTube or Vimeo.
However, most built-in cameras only support recording videos at or below 720P. Moreover, the inbuilt laptop microphones act dull when it has to reduce noise and echo actively during recording.
The entire video recording would look decent if the creator could upgrade their webcam to a 2K or 1080P FHD one. They'd also need a powerful microphone or noise-cancellation headphones to record in high quality.
How to Use All-in-one Webcam With Loom

Fig 3- choose the NUROUM C40 as the recording device.
-
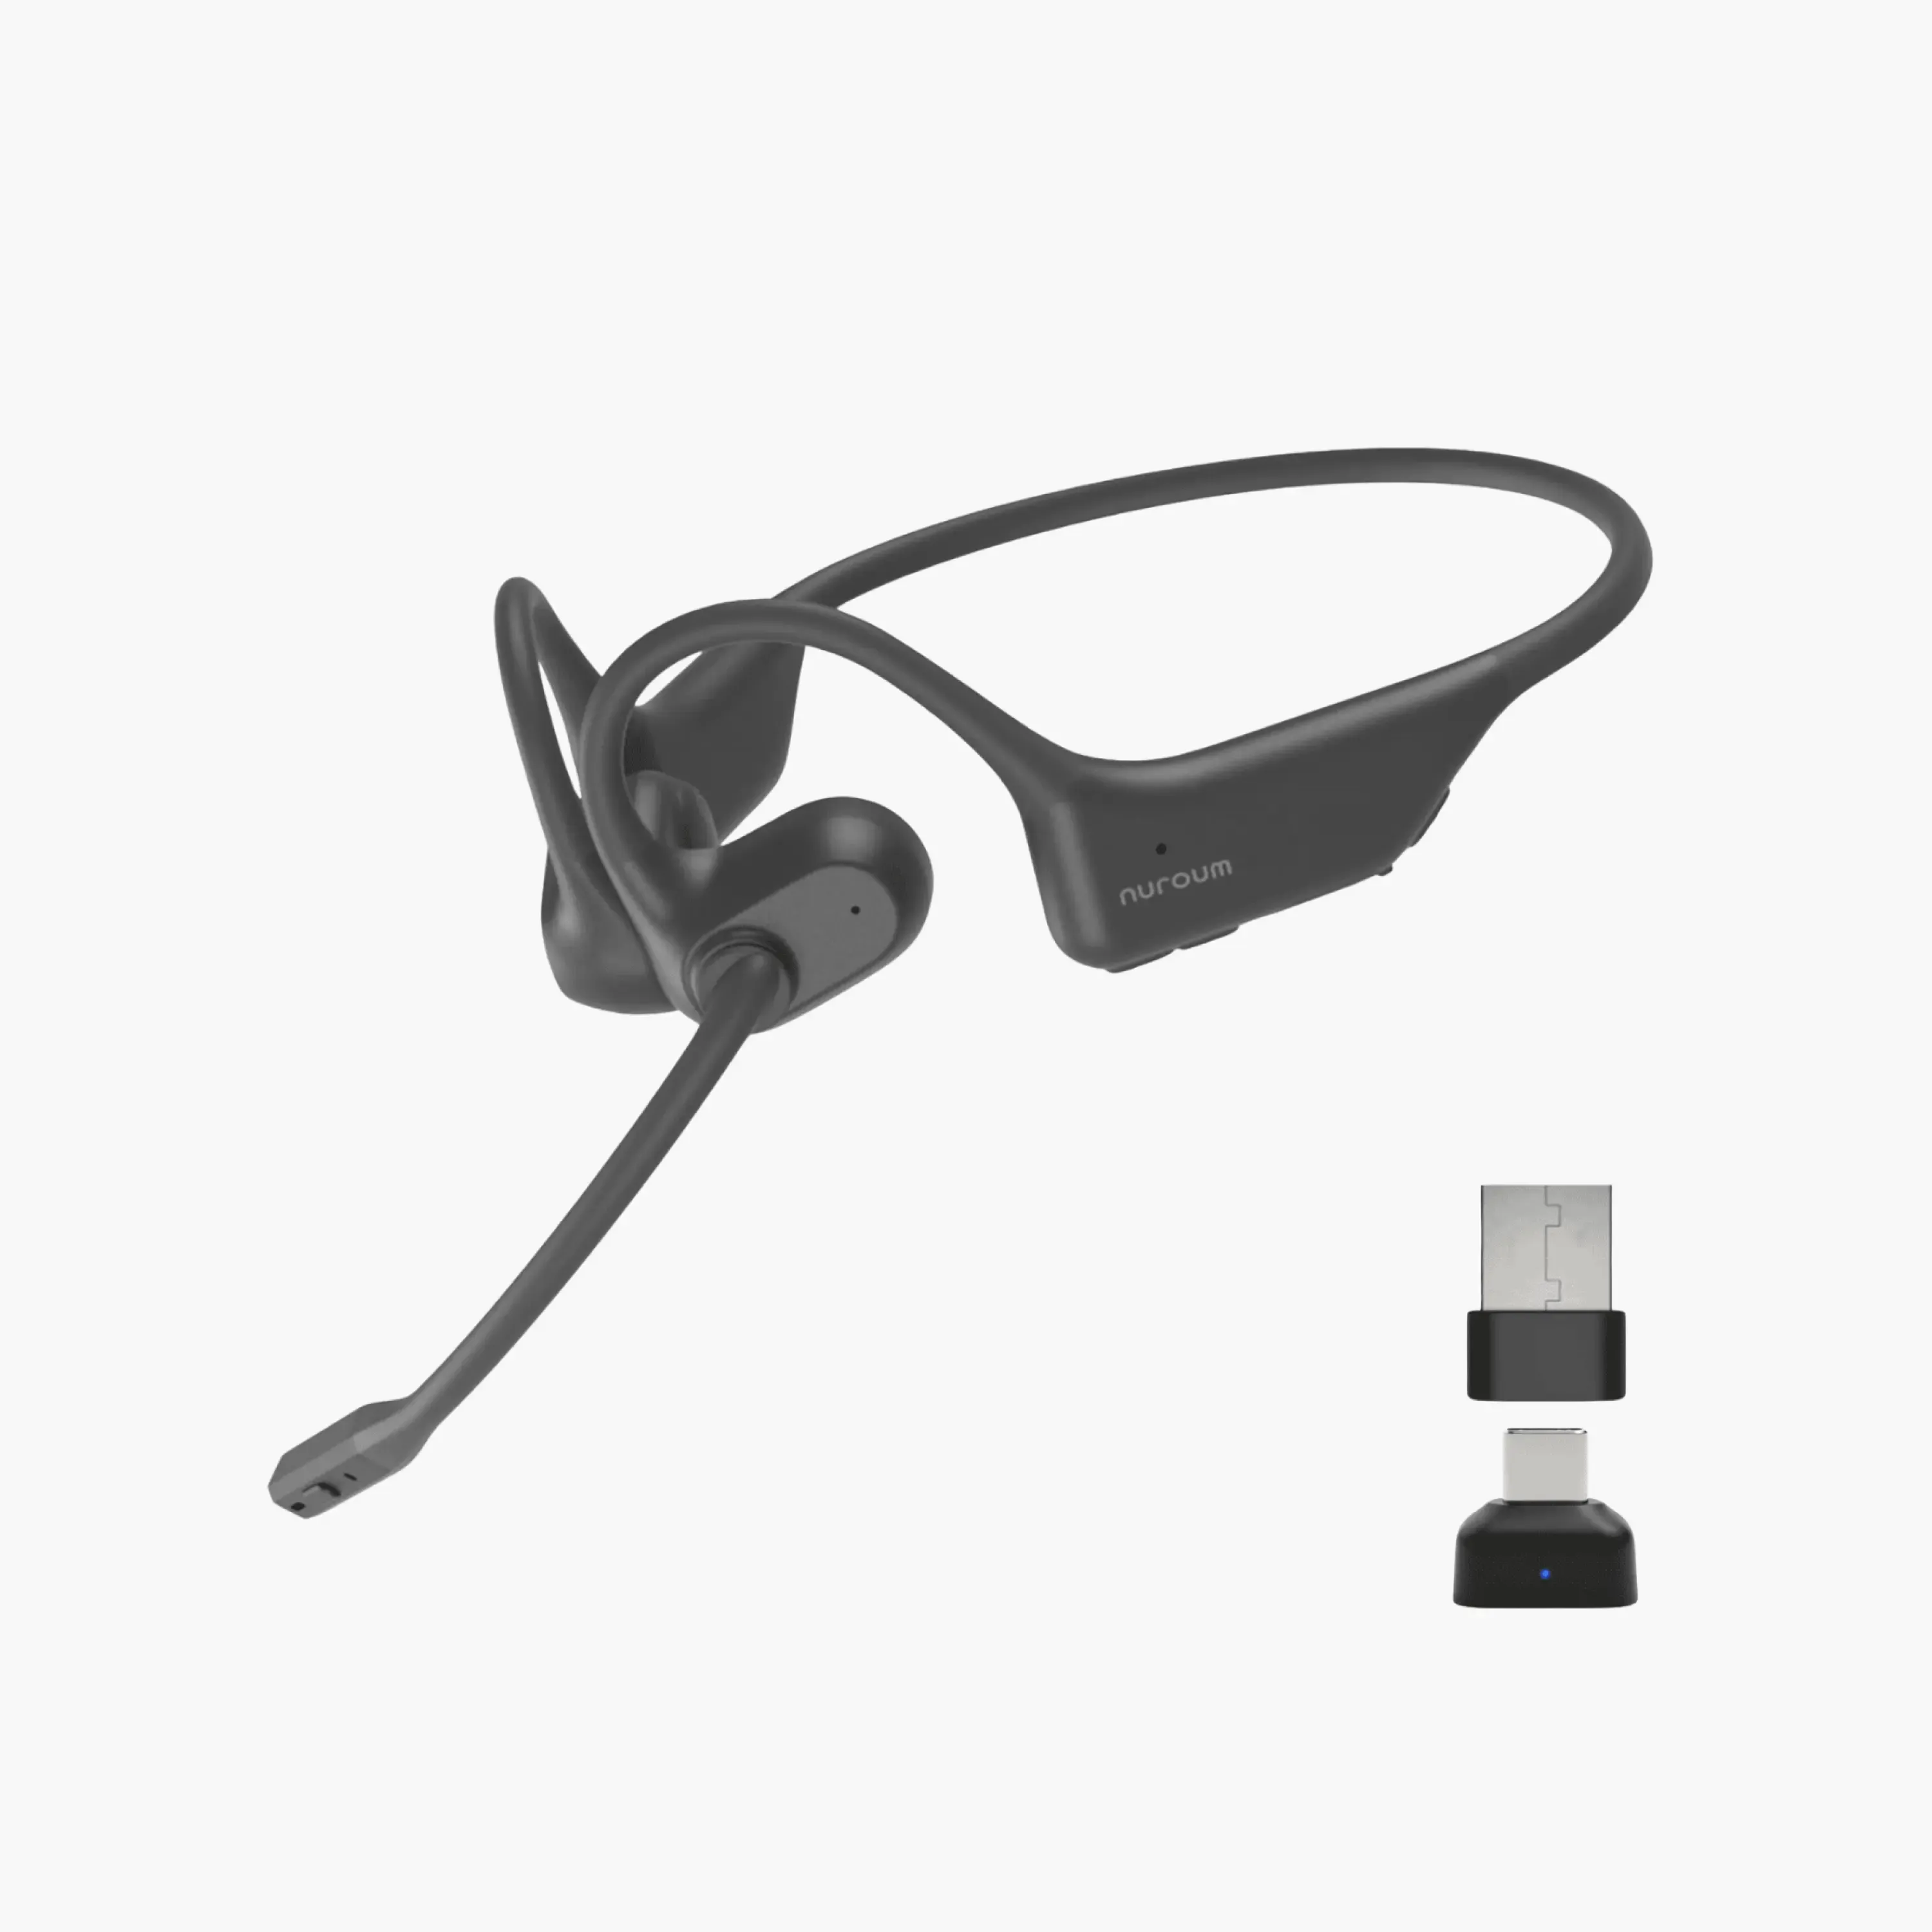
Choose your all-in-one device NUROUM C40 as the default recording audio and video device. You can do so by Selecting Recording Settings>Camera>Nuroum C40 and Mic>Nuroum C40.
-
Choose the recording resolution ratio of the camera. NUROUM C40 supports video recording in 1440P, which is available in the Loom settings. The default choice is 1080p, preferred by most audiences and creators on YouTube. However, 1440P can capture more details in the frame than 1080P, or the cameras that merely support 720P, like the front webcam of most laptops.

Fig 4- choose the ratio of your webcam.
3. Click the start recording button and let C40 and Loom do the magic. Besides that, you can enhance your appearance in Loom while recording. Here's a quick guide on recording enhancements and adding touch-ups in Loom.

Fig 5- Record the camera and your screen
5. Once done with recording, the videos get saved in the Workspace or Library on the Loom web page. Later, you can share these videos with your peers or classmates and get comments. This feature would be handy for people who need feedback before post-production.


Fig 6- Add comments
7. You can download or share your video directly through the library. Once again, you can share your workspace with a team. That's the core idea of Loom.
Conclusion
If you are looking for an efficient way to record yourself and the screen, Loom is what you need. Thanks to Loom recording software and our powerful all-in-one hybrid work tool NUROUM C40, video and screen recording has become more accessible and easy for anyone. We sincerely hope all the friends of Loom and NUROUM find this article helpful. And if you need more cutting-edge products to scale your hybrid work experience, check out nuroum.com today.


